Skip to main content
☰
Toggle submenu
Sections
Home
Browse Collections
Lives
Video Library
Museum Listing
Advanced Search
Free Trial Issue
Quicklinks
Join
About ISHA
Who We Are
Sponsors
Donate
Contact Us
Events & Awards
Current Issue
Past Issues
Search
Current Issue
CTA Menu
Donate
Join/Renew
Log In
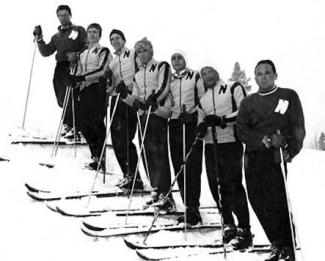
The Pack is Back
Image
Edith Thys Morgan
Already a Member?
Username or email address.
Enter your username or email address
Password
Enter the password that accompanies your email address.
Remember me
Log in
Create new account
Reset your password